Approval settings
These are the hats tasks you can perform when setting up approvers and flows:
- Create an approver.
- Set up an Approval Flow.
- Enable Power Approver ability.
Create an Approver
How to create an approver
First, let's find the approvers list. Search for approver in the Tell me what you want to do field and select the Invoice Workflow Approvers list.

Prerequisite: Approvers are based on Portal Connect users.
- Click on the menu item New.
- Select a portal user from the User ID lookup.
Name and email is filled in automatically based on the selected user.

- Choose a substitute from the Substitute lookup (optional).
- Select a user from the Approved by lookup. This user is authorized to make approvals next in the flow after the new approver.
- Under Advanced set which additional attributes the user should have: Power approver, Template Designer and View All Posted Documents.

- In the Permissions tab you can give the approver permission to change the dimensions, the G/L Account or job.

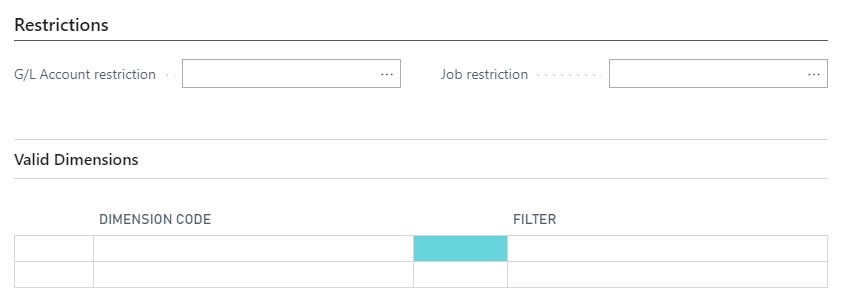
- Lastly in the Restrictions settings and in Valid dimensions you can set further restrictions and dimensions.

Set up an Approval Flow
How to create an approval flow
The following will guide you through the process of settings up an approval flow. Start by searching for Approval flow using the Tell me what you want to do field.

- Click on the Edit List menu item. This enables you to edit the list. Jump to the blank line at the bottom.
- Enter a name for the flow in the Code cell.
- Enter a description for the flow in the Description cell.
- In the Approvers for this flow table you can select an approver among the available approvers. These must be set up beforehand.
- Set the May authorize up to amount. An amount of "0,00" means unlimited.
- In the Approved by you choose which approver should be next, if the amount is too high.
- The next three cells let's you define if the approver can change Dimensions, G/L Account and Job in this specific approval flow.
- Setting a check mark in the Default Approver checkbox sets the approver as the default approver.

The final cell is called Status. This will show a warning if the entered field values lack conformity. This is the case if you have not specified Approved by or if the chosen Substitute Approver is not authorized to approve the same amount as the first approver.
Power Approver
A Power Approver is able to approve documents on behalf of other approvers. This means that a Power Approver can approve documents with status In Approval which are awaiting another approvers approval. The change log will describe who was meant to approve the document and who actually did approve.
When an approved document has been re-opened the Power Approver can then force an approval. When the document has been reopened and sent for approval again then the system will ask if the Power Approver wishes to force an approval.

To enable Power Approver for a user, first search for approver in the Tell me what you want to do field and select the Invoice Workflow Approvers list.
- Click on the USER ID of the user you want to edit.
- Set the field Power approver to ON.

Single approver
If the approval settings on a document template has been set to Single Approver then the Power Approver can put himself as approver and then when the Power Approver sends the document for approval the document will immediately be approved.
This feature is highly relevant for invoices with fixed expenses as gas, water bill, rent etc.

Next step
If you have done the basic Invoice Workflow setup, Document Types settings, template design and Approval settings, then you are all set up and ready for conquering Invoice Workflow!
